At the lush gardens of Middleton Place outside Charleston, South Carolina, Sidney Frazier tends flower royalty, including what is very likely the oldest camellia in the United States. In a recent issue of Garden & Gun, Frazier, who is Middleton’s vice president of horticulture, shared his devotion to historic camellias, which he has cultivated there for more than forty years. In that story, Frazier mentioned air-layering, a technique for multiplying plants that involves tricking a branch into growing new roots, thereby creating a new shrub with the same genetic makeup as the original plant.
“You can use this method on both sasanqua and japonica camellias,” Frazier says. “And the best part about air-layering is you get a much larger plant than if you tried to grow a camellia from a cutting.” The resulting plant is also larger than most camellias sold in containers at nurseries and can be planted in a garden the very next season.
Here’s how Frazier does it:
Step 1: Identify the Perfect Plant
The right time to air-layer is after the camellias have finished blooming, in the late spring or early summer. By then, the blossoms will be through, and the plant will have completed adding new growth. “Look for the healthiest branch there is,” Frazier says. It should be upright with greenery, not pruned back, and not damaged. “On that branch, look for growth that is no larger than the circumference of a pencil.” Growth of that size will make for a solid plant capable of shooting off new roots. Many gardeners prune their camellias each year anyway, so creating a new plant from what would have been chopped is a fun experiment.
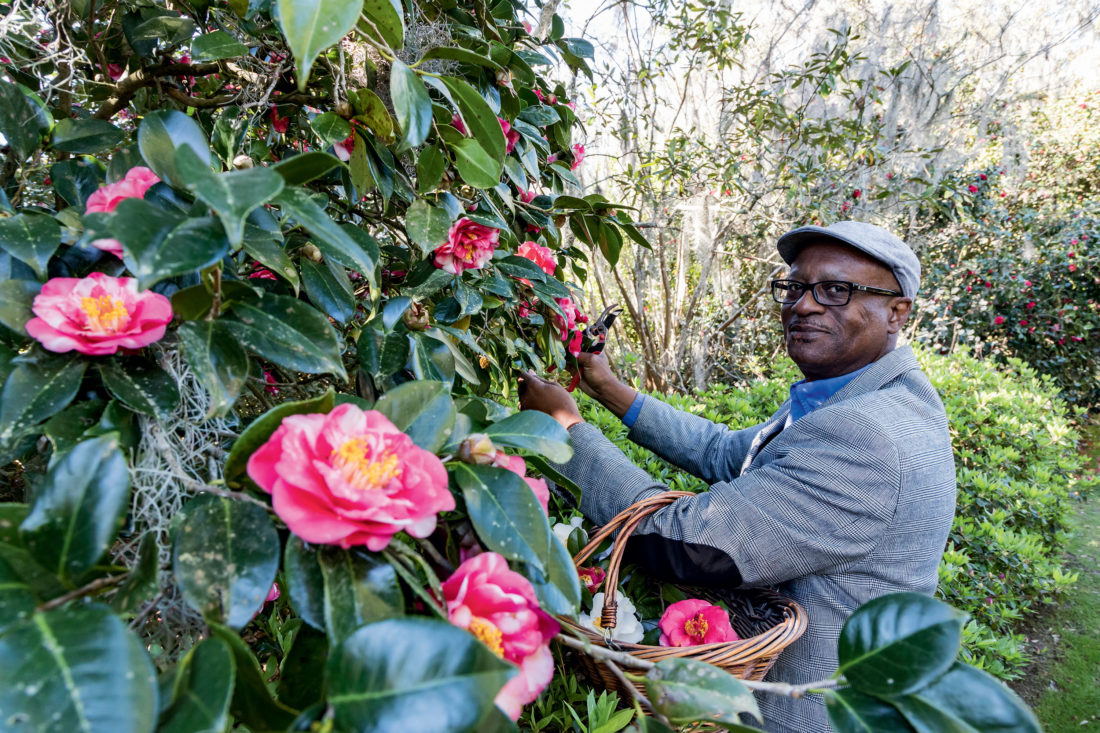
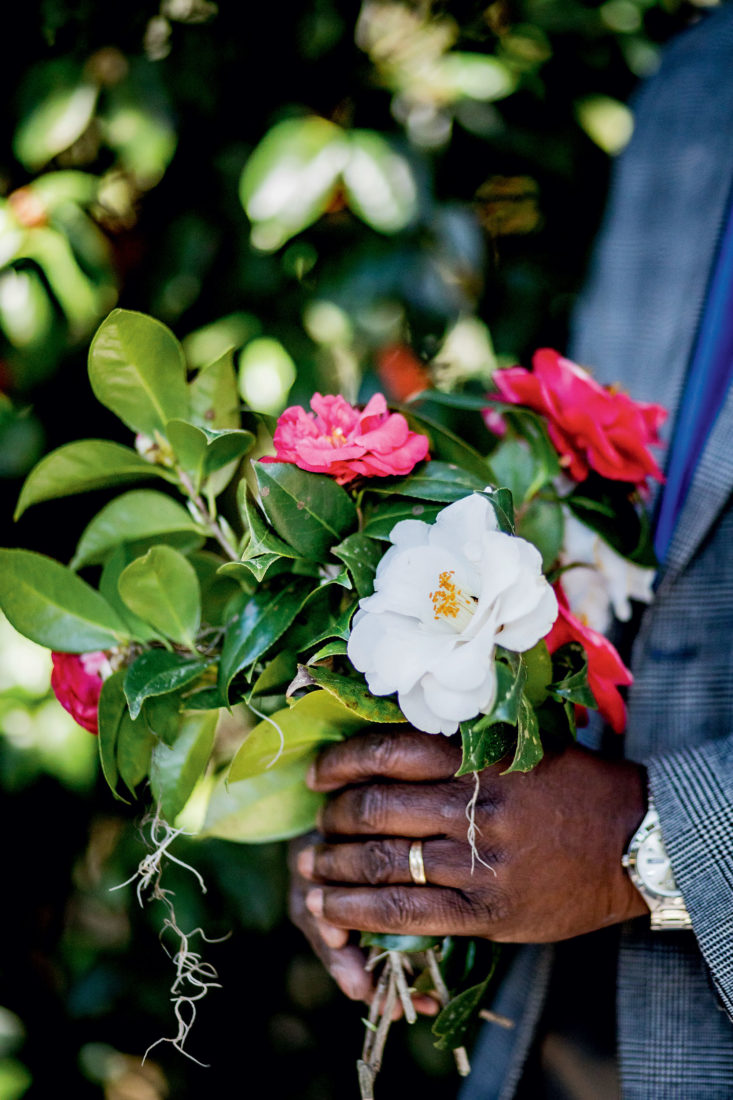
Photo: Peter Frank Edwards
Sidney Frazier pruning Camellia japonica blooms at Middleton Plantation.
Step 2: Cut and Bandage
Soak sphagnum moss, which can be purchased at any garden or home improvement store, in a bucket of water for an hour.
While the moss absorbs liquid, use a sharp blade (Frazier uses a box-cutter type of knife) to cut away the bark one inch all the way around the branch. “Just take that bark off, the first layer of the plant,” Frazier says. “Don’t cut deeply into the hard wood.” This is where new roots will form, so be sure to pick a spot on the branch that gives enough room on either end for the new plant to be clipped and planted.
“Then, take the moss and squeeze out all the extra water,” Frazier says. “It will remain moist. Apply the moss by wrapping the section of the branch.” Layer the moss on thick and evenly up to four inches all the way around the wound. “The branch will sense a need for survival and begin to create a new root system,” Frazier says. The moss is the perfect place for that new system to thrive.
Around the moss, wrap black plastic as a sort of cocoon to protect the moss and plant. Tie off each end with string so that water doesn’t get in or out of the bundle.
Step 3: Wait and Wait
“The best thing to do now is nothing,” Frazier says. “Let it sit there for about six months without disturbing the plant.” The tiny new roots will be as thin as hair, and shuffling with the moss packet too much can damage the fragile growth.
Instead of opening up the bandage, Frazier will gently squeeze the moss after two months or so to feel if the new roots are firming up. “You want to check if the root system is beginning to grow around the moss and filling out the plastic,” Frazier says. “Remember the plant is in survival mode, it senses that it’s not pulling in nutrients from the main root system, so it has to develop its own.”
One troubleshooting tip: If there’s too much moisture, like after a rain, and the bundle is dripping water, it may need to be tightened. Too much moisture will cause the plant to pull in water instead of create a new root system.
Step 4: Clip and Plant
Once a strong root system has developed, usually after six months, it’s time to remove the new plant from the parent plant. “Snip it off just beneath the root system and remove the bag to see how it’s grown,” Frazier says. You might need to trim a bit more of the branch before planting the new growth in a pot. Nurture this new plant in a pot outside of direct sun until you find the perfect place to plant the new camellia—in partial shade, ideally near (not directly beneath) the protective canopy of a magnolia or oak tree, Frazier recommends.
Sidney Frazier will host a free camellia workshop at Middleton Place on February 2. Reservations are required. Frazier and other Middleton staff also lead regular camellia walks from February through the middle of March.