When Jess Pahl was young, her father, Lowcountry decoy carver Tom Boozer, passed on his love of whittling to his daughter—only her preferred medium was slightly different than his: Instead of wooden ducks, she carved pumpkins. “I have always loved carving them,” Pahl says. “I’ve done everything from haunted houses and forests to owls.” In the beginning, she learned to carve using Boozer’s buck and fillet knives (the larger blade to pierce and remove large chunks, the thinner blade for precision cutting and detail work). Over time, however, Pahl perfected her own technique, and graduated from hunting and kitchen knives to a set geared specifically for pumpkins. But, she says, the knives are only half of the equation when it comes to carving. How you approach your design—and what you do to preserve it after—matter just as much. Here are Pahl’s five tips for rendering an expert-looking, longer-lasting pumpkin this Halloween.
1. Don’t just wing it. Unless you’re a skilled artist, freehanded cuts are tricky. Instead, trace your design onto the outside of the pumpkin in pencil, then use the point of a knife or even a nail to make tiny dots along the lines. “That way,” Pahl says, “when you carve, it’s just like connecting the dots.”
2. Embrace the shade. Whereas the cut-out portions define your design, the shaded areas lend texture and detail and amp up what Pahl calls “the spooky effect.” To shade, simply cut through the pumpkin skin and peel back the outer layers without cutting all the way through the pumpkin wall. (Further scraping the inside of the pumpkin after you’re done will ensure maximum light shines through.)
3. Dunk your pumpkin. After you carve the pumpkin, submerge the entire thing in a bucket filled with one gallon of water and one teaspoon of bleach. Then, allow it to dry upside down. The bleach solution will kill bacteria that cause the pumpkin to spoil and discourage any new gunk from growing.
4. Seal the edges. When you’ve finished dunking and drying your jack-o-lantern, grab a tub of Vaseline. Yep, that’s right. Swiping Vaseline along the carved edges not only helps your design pop, it also keeps your pumpkin from drying out prematurely.
5. Keep it fresh. You know those little silica gel packets that come in the bottom of shoeboxes? The ones you usually throw away? Well, don’t, Pahl says. They are essentially mini dehumidifiers, absorbing all the moisture around them. Drop one inside your pumpkin (staying well away from any flame) to further prevent mold growth and keep your masterpiece fresh for the duration.
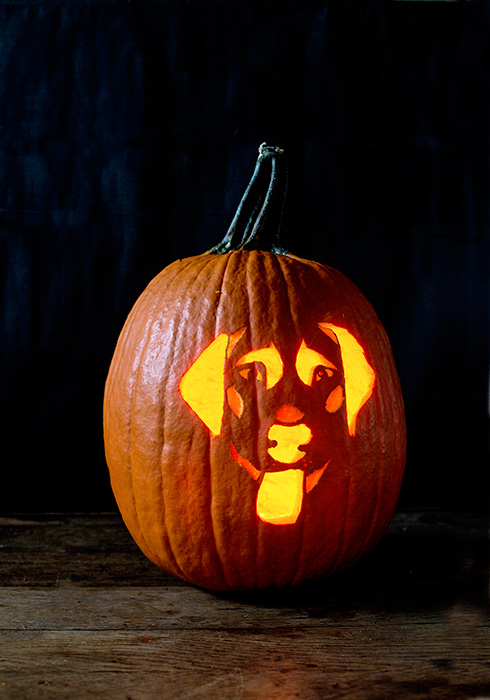
At top: We used Jess Pahl’s tips to carve our own Good Dog pumpkin.