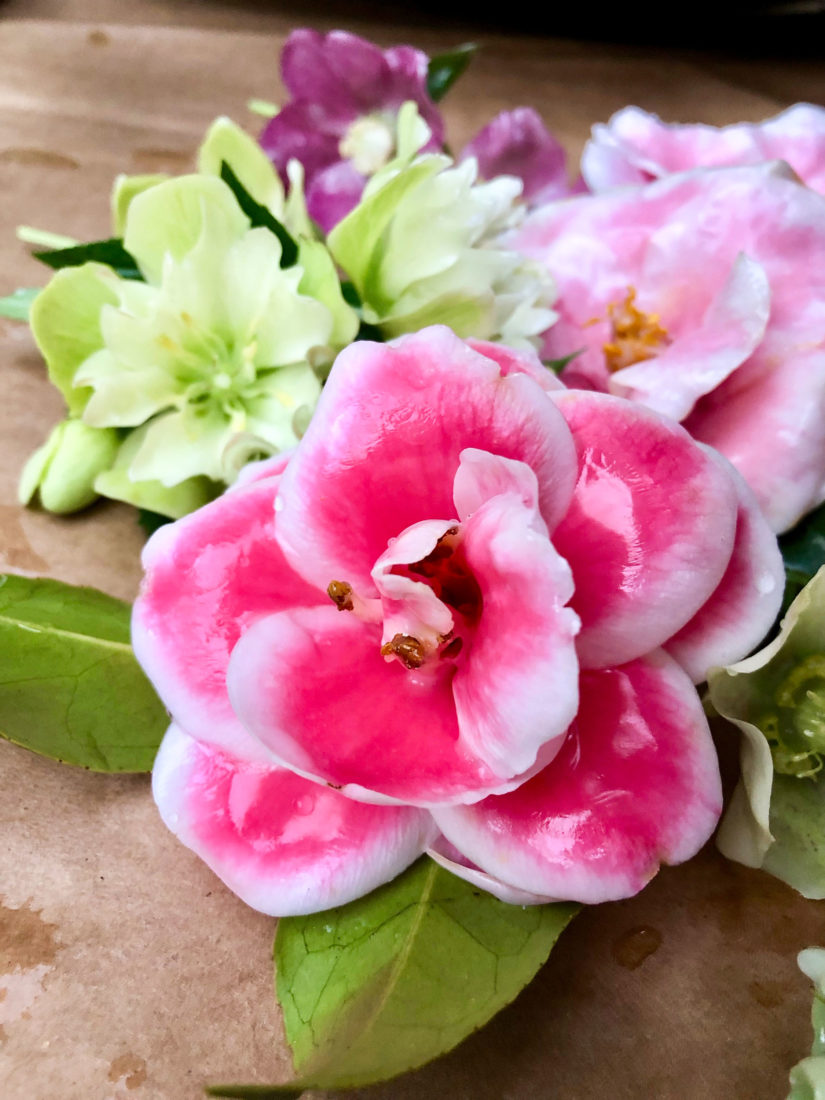
Paraffin wax is a bit of a time capsule. Perhaps best known by grandmothers as a way to seal Mason jars of homemade jellies, it can also work its magic to preserve fresh flower blooms—an old-fashioned Southern skill. Just as amber suspends insects from ancient times, paraffin can coat and encase blossoms in a porcelain sheen, allowing them to last for weeks without water.
It’s a tradition that goes back generations. “I learned it from a friend who learned it from his mother,” says Dr. Brenda Litchfield, a Mobile, Alabama-based camellia collector who shares her tried-and-true techniques on the American Camellia Society’s website. “It’s really a fun activity. I’ve done it for garden clubs, I’ve done it for parties.”
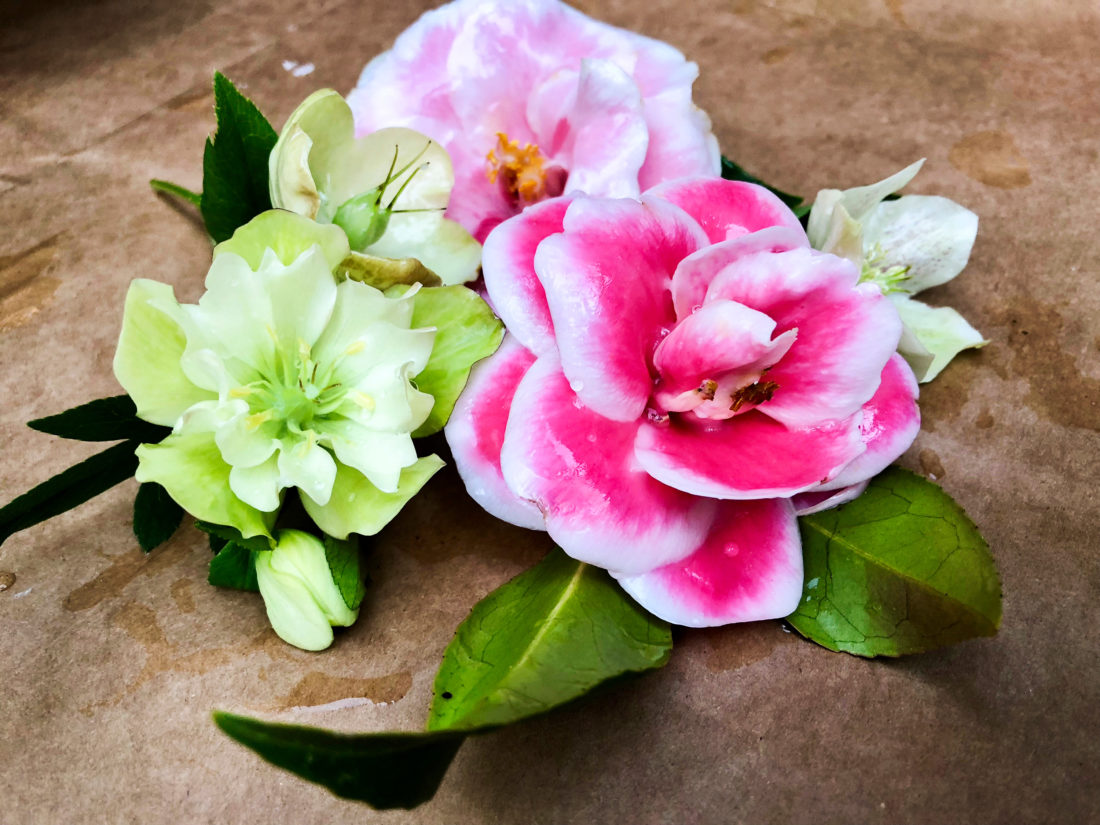
Photo: Mary Beth Shaddix
Small flowers with open petals, such as camellias and hellebores, are ideal options for waxing.
I first learned about waxing flowers from my own mother, an avid gardener in Georgia, who dazzled us with gleaming china-like camellia blooms as holiday centerpieces. She was taught by Carol Selph of the Wiregrass Camellia Society, who created an annual flower-waxing program in her garden club. The secret to waxed beauties that outshine their cut-stem counterparts? “It’s all in the wrist. Instead of dunking it, quickly move the bloom across the container from one side to the other,” Selph says. “The choice of bloom is important, too.”
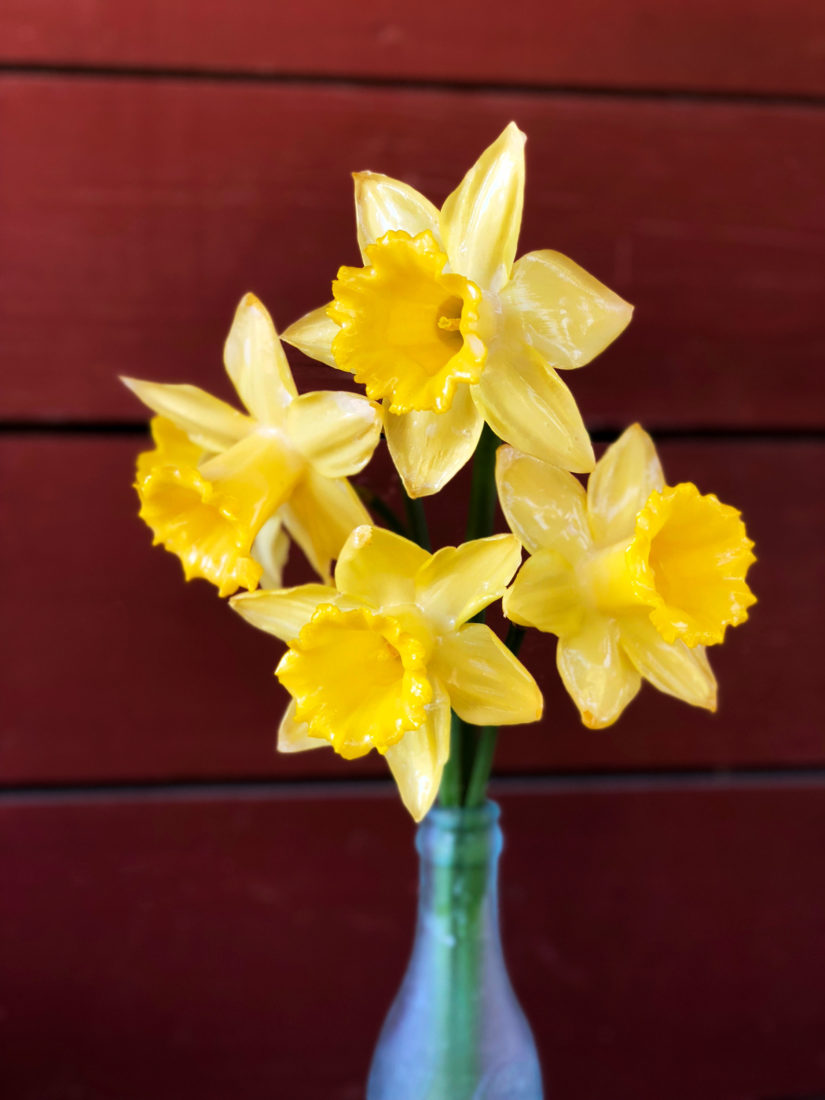
Photo: Mary Beth Shaddix
Dipped daffodils.
Choose the freshest flowers with structure and separated petals that can support the thin wax coating. Specimens of camellia, gardenia, magnolia, hellebore, tulip, and daffodil work well; gauzy, delicate blooms such as azalea or poppy might not. Also, lighter colors work best, as the wax can dull vibrant reds and purples. For instance, choose small white or pink camellias such as ‘Pink Perfection,’ instead of a red, peony-form ‘Professor Sargent.’ It’s most critical to watch the thermometer, aiming to keep the paraffin at 130 to 140 degrees. Lower temperatures cause the wax to glob; higher temperatures can burn or brown petals. Use a few imperfect blooms for practice to find the ideal temperature and technique.
Once you’ve mastered this art, pass it along—you’ll preserve beautiful blooms and a Southern tradition.
WHAT YOU’LL NEED
Paraffin wax, such as Gulf Wax (2 to 5 lbs)
Mineral oil
Electric burner and double boiler, or electric fryer/multi-cooker (wide and deep enough to completely submerge the largest bloom) like this.
Digital or candy thermometer with precise measurement
Large bowl of ice water
Fine mesh strainer
Craft or parchment paper
Flowers
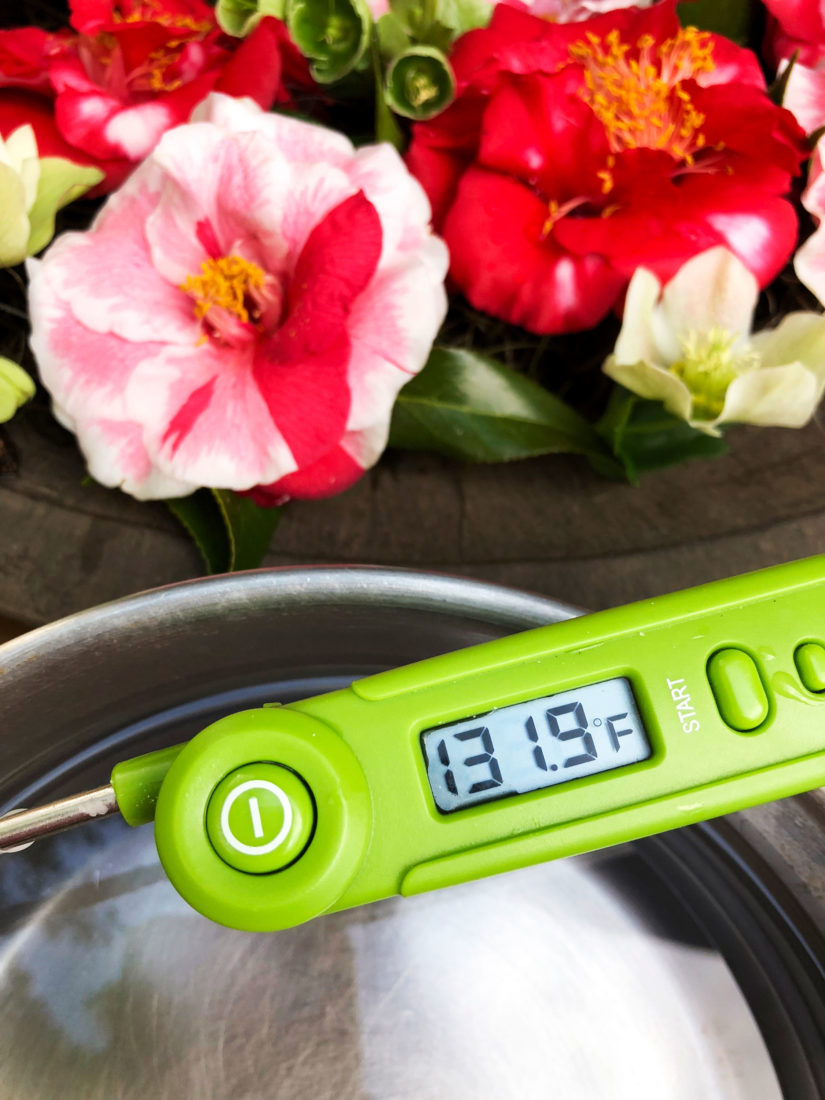
Photo: Mary Beth Shaddix
Camellia blooms ready for a dip.
PREPARATION
Caution: Paraffin wax is extremely flammable. Do not allow contact with an open flame and use a double boiler to avoid direct heat.
1. Choose fresh blooms free of dew or water. (Flowers must be dry or wax will not adhere well.) Cut the stems to a preferred length for arrangements, but leave at least 2 inches of stem for easy handling while dipping. For small flowers with no stems, use toothpicks or floral wire.
2. Create a 3-step work station of warm wax, cold water, and drying areas. So you can work quickly, place the prepared bowl of ice water next to the heated pot of paraffin. Just before using the water bath, remove bits of ice to avoid bumping the soft wax on petals. Keep the water cold and clean of debris, continually removing small bits or drips of wax using the fine mesh strainer. Spread out parchment or craft paper where flowers can dry.
3. Based on the amount and size of flowers to be coated, melt 2-5 pounds of paraffin wax with mineral oil in a double boiler or electric cooker. Wax to oil ratio: For every pound of wax used, add 1/2 cup of mineral oil. (A 2 1/2-quart saucepan holds 2 pounds of wax and 1 cup of mineral oil.) Keep heat on low to maintain the ideal temperature range of 130-140 degrees, constantly checking with a digital or candy thermometer.
4. Once the wax is ready, gently sweep the blossom into the liquid paraffin, holding by the stem. Quickly—not even the second(s) it takes to say “One Mississippi,” depending on your accent.
5. Now holding the bloom right-side up, gently shake 1-2 times to allow wax to coat down toward the center. Immediately—but gently—place it into the ice water bath, leaving it for thirty seconds to harden.
6. Place on parchment or craft paper to drain. Arrange in displays with glossy evergreen leaves or moss.


