Food & Drink

Savory Short Rib Hand Pies

Korean flavors star in cookbook author Cathy Barrow’s savory take on a portable-pie tradition

Photo: Christopher Hirsheimer


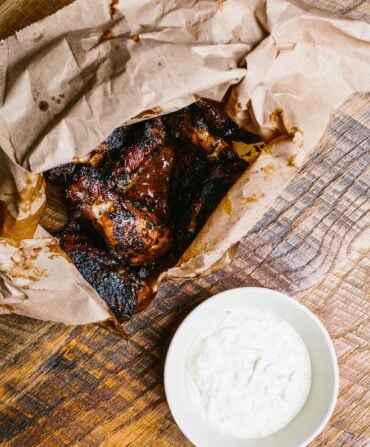
Short ribs are deeply flavorful, but because the meat is muscled, it takes low and slow heat to become fall-apart tender. While long-cooked braises have their place, there’s another short rib recipe that is quick and delicious, fla­vorful and chewy (in a good way): Korean-style kalbi short ribs are marinated in a spicy brew and then grilled or broiled hot and fast. The recipe requires a different cut of short rib, called either kalbi or flanken cut, available at many Asian markets or on order from a butcher. In this cut, the butcher slices across, not between, the ribs, for long, slim meaty pieces, each with four small bones. Once cooked, cut away the bones (Korean chefs use scissors) and chop the meat. That’s the way to turn short ribs into a special occasion hand pie, rich and satisfying. Cathy Barrow


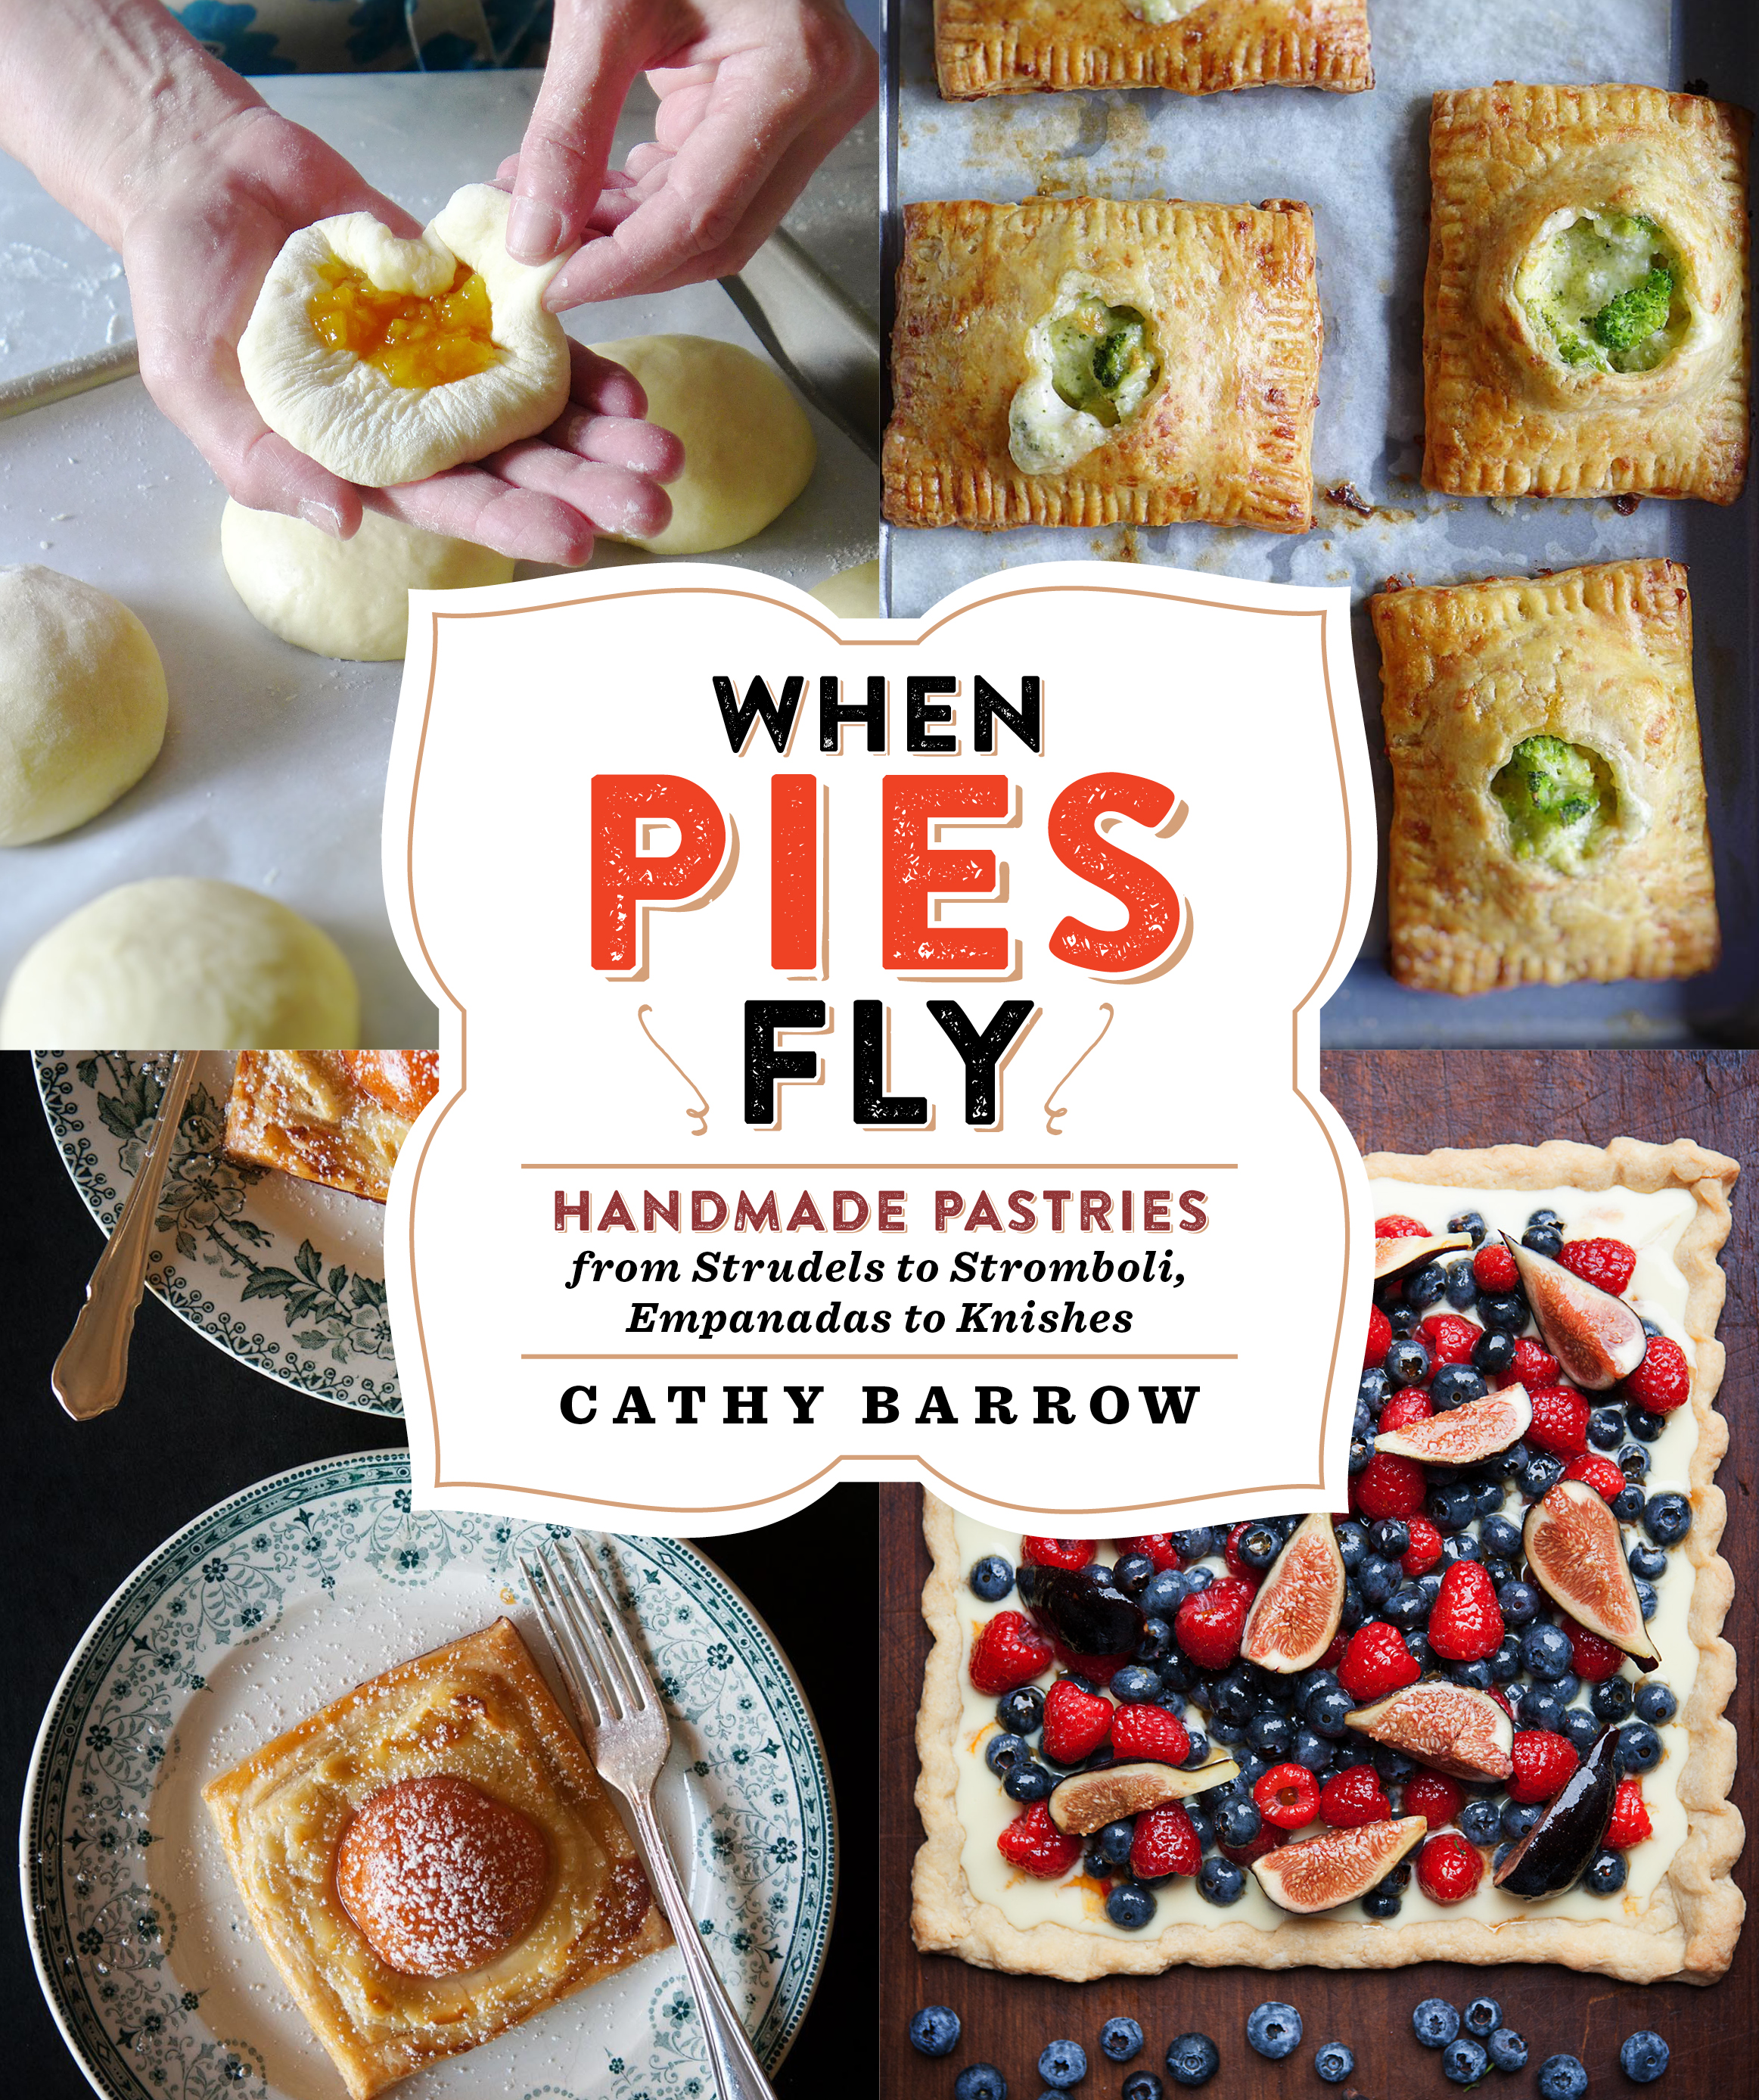
Excerpted from When Pies Fly: Handmade Pastries from Strudels to Stromboli, Empanadas to Knishes to Kolaches by Cathy Barrow (copyright © 2019 by Cathy Barrow).  Reprinted with permission from Grand Central Publishing.  All rights reserved.


Ingredients

  • Kalbi Short Rib Hand Pies (Makes 12)

    • ½ cup sesame oil

    • ¼ cup tamari or low-sodium soy sauce

    • ¼ cup mirin (rice wine)

    • ¼ cup rice wine vinegar

    • ¼ cup packed brown sugar

    • 1 tablespoon grated garlic

    • 1 tablespoon grated fresh ginger

    • 1½ pounds flanken or kalbi-style short ribs (¾ inch thick)

    • ½ cup chopped scallions (about 4)

    • 2 tablespoons gochujang paste

    • 2 tablespoons chopped cilantro leaves

    • 2 recipes All-Butter Pie Dough (recipe follows), formed into square blocks

    • Egg white wash (1 egg white, lightly beaten with ¼ teaspoon kosher salt)

  • All-Butter Pie Dough (Makes 1 recipe pie dough)

    • 1⅓ cups all-purpose flour

    • 8 tablespoons unsalted butter, cubed and frozen for 20 minutes

    • Scant pinch kosher salt

    • ¼ cup ice water


Preparation

  1. For the kalbi short rib hand pies: Combine the sesame oil, tamari, mirin, vinegar, brown sugar, garlic, and ginger in a medium bowl. Place the short ribs in a shallow glass or ceramic baking dish and pour the marinade over the meat. Cover and refrigerate for at least 4 hours, or as long as overnight. Turn the short ribs a few times now and again, if you remember.

  2. Fire up the grill and get it screaming hot. Place the ribs on the grill (reserve the marinade) and do not look away. Turn them over in 3 or 4 minutes and grill the other side for 3 or 4 minutes longer. They should have blackened tips and edges, bubbling fat, and smell delicious. That’s all it takes. The meat will be medium-rare.

  3. Alternatively, to broil: Place a rack in the uppermost part of the oven (and turn on the fan, this will make some smoke.) Line a baking sheet with a snug covering of foil. Place the short ribs in a single layer on the lined pan and reserve the marinade. Broil for 4 to 6 minutes per side until the meat is blackened on the edges, the fat is sizzling, and the scent is very appetizing.

  4. Let the ribs cool for a few minutes, then remove the bones using a sharp knife or kitchen scissors. Place the meat on a cutting board and chop into bite-sized pieces. Leave some of the fat to keep the filling moist, but remove any gristle.

  5. Pour the marinade into a small saucepan and bring to a boil over high heat. Cook until thickened and reduced by half (to about ⅔ to ¾ cup sticky sauce), about 10 minutes. Be careful in the last moments as it can scorch. Combine the meat and half of the sauce, to start. The filling should be somewhat saucy, but still easy to scoop, so add more sauce if needed. Do not over-sauce! (Leftover sauce can be swiped on a sandwich.) Cover and cool completely, during which time the filling will firm up slightly.

  6. Place a Baking Steel, baking stone, or inverted baking sheet on the center rack and heat the oven to 400°F. Line two baking sheets with parchment. Stir the scallions, go­chujang, and cilantro into the filling.

  7. Remove one block of dough from the refrigerator. Roll out the dough to an approximate 11-inch square, cut into 12 (3½- to 4½-inch) rectangles, and vent half of them. Add a packed scant ¼ cup filling to one rectangle and form a hand pie with a second (vented) rectangle. Transfer to a baking sheet and firmly fork-crimp the edges. Brush the surface with egg wash.

  8. Continue to make the remaining pies. Refrigerate or freeze while repeating the process with the other block of pie dough to make a total of 12 hand pies.

  9. Bake the hand pies for 30 to 35 minutes, until deeply golden brown. I prefer to bake them one baking sheet at a time to take advantage of the Baking Steel in my oven. If you prefer to bake the two sheet pans at the same time, switch their position from top to bottom and front to back halfway through the bake.

  10. Freeze hand pies (baked or unbaked) for up to 3 months.

  11. For the all-butter pie dough: Place the work bowl of the food processor on the scale, set the scale to zero, and weigh the flour into the bowl. Weigh in the butter and add the salt. Move the bowl to the food pro­cessor base, insert the metal blade, cover, and use the Pulse function to cut the flour and butter into flour-covered pea-sized pieces, about 15 quick pulses. Add the ice water all at once and process until the dough almost comes together in a ball. All the flour will be dampened and the dough will clump.

  12. Spend time on this next step because the more compact and precise the dough, the easier it is to roll to the correct size and thickness. Form an X with two long pieces of over­lapping plastic wrap and lightly flour the surface. Dump the dough onto the center of the plastic wrap, scraping the pro­cessor bowl clean. Wrap the sloppy gathering of dough in the plastic and, at the same time, use a bench scraper (not your warm hands that might melt the butter clumps) to form the dough into a 4-inch disk or a 3½- by 3½-inch block. Once wrapped, use a rolling pin to gently press across the surface of the dough, then flip it over and do the same on the other side. Now let it rest: Refrigerate the dough for at least 4 hours or preferably overnight. Alternatively, slip the plas­tic-wrapped dough block into a ziptop bag and freeze it for up to 3 months. Defrost gently, overnight in the refrigerator.


tags: